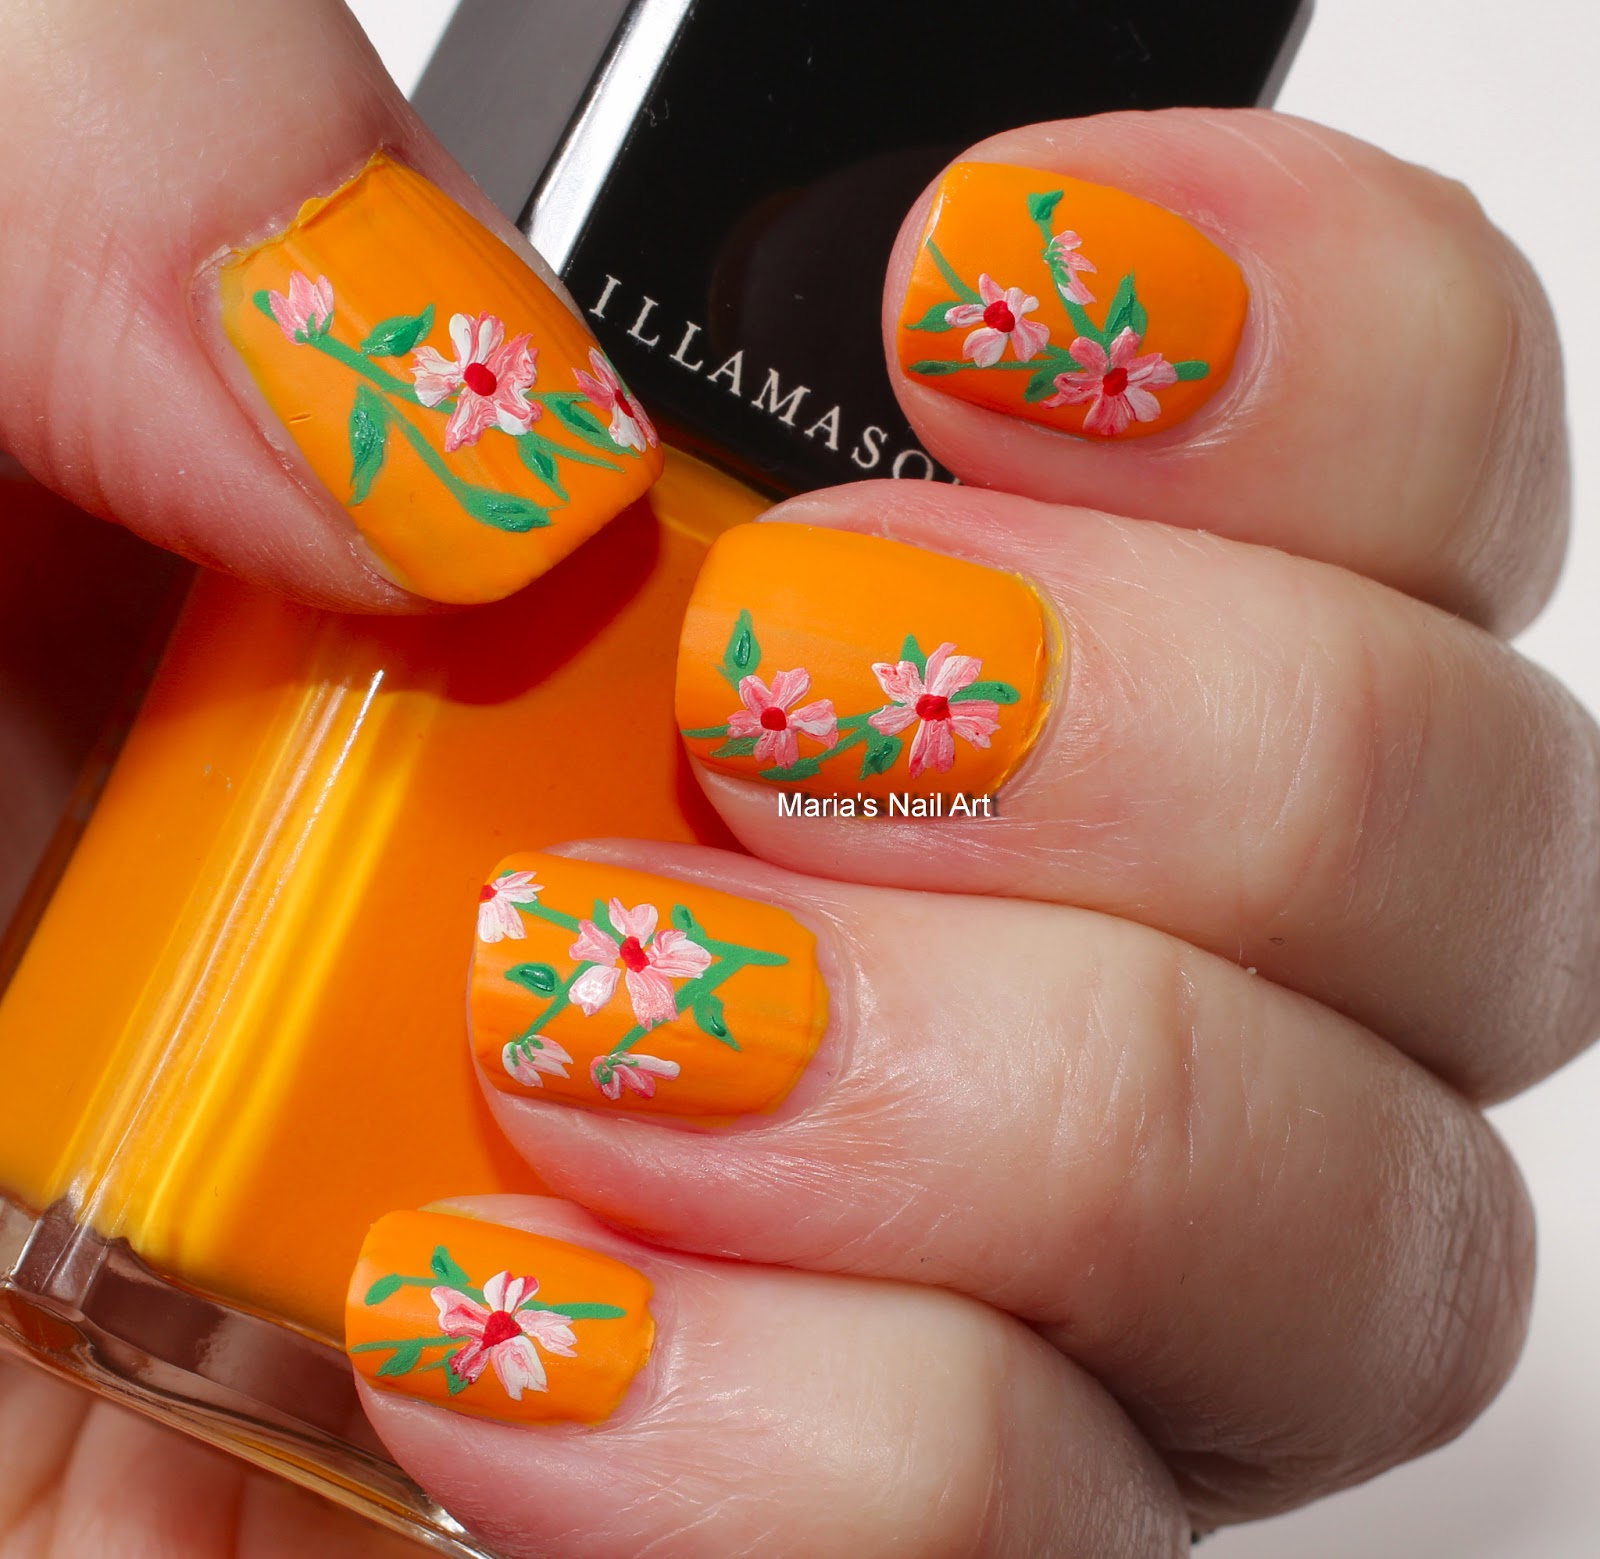
Top coating your nail art painted with acrylic craft color gives a beautiful depth in the colors. BUT once a while a polish bleeds through the acrylic craft paint (and often also other polishes) when you top coat - and I tested this using 5 different top coats (normal + quick drying) with the same result.
It can be a cool effect, it you are prepared and make it work for you - but it also can ruin your design completely - and that is of course not cool at all!
NOTE: Bleeding polishes are not a problem if you do not paint nail art on them (or possibly only use darker colors for the nail art), they are fine for normal use.
Below I'll show you the bleeding polishes I have in my collection. Interestingly enough they all are high end brands...
For the test I used a top quality, well pigmented white acrylic craft color that never gives me any kind of problems. I let the polishes dry a little longer than normal between coats and after the second coat before I painted with white, yellow and a mossy kind of green.
First we have the beautiful Illamasqua Optimist, a very intense yellow based orange with a rubber finish. This is a really severe bleeder - no top coat to the left and top coat to the right. As you can see the yellow even penetrates the white on the one without top coat.
Can it be fixed? - I repainted the lower row and top coated once more.
Verdict, it's not worth the time and effort, you hardly can see any difference at all, so my advice is to use it as is or as a perfect color in a gradients with other polishes.Or try with dark acrylic craft colors.
Next we have Illamasqua Force, a beautiful blue with a rubber finish, also a pretty severe bleeder, but not totally uncool...
Can it be fixed? - I repainted the lower row and top coated once more.
Verdict, it did help just a little bit, so it's up to you...
Next we have Pretty Serious Santa's Sunburn, a gorgeous red with a slight orange/yellow hue. As with Force I find the effect kind of cool.
Can it be fixed? - I repainted the lower row and top coated once more.
Verdict, it can be fixed rather well, but I likes it just as much before...
Hipster Chick from Chick lets a little yellow through the white - not much, but in a not so cool way.
Can it be fixed? - I repainted the lower row and top coated once more.
Verdict, no not really, use other colors than white and you will be fine...
Finally we have the beautiful red holographic Glitter Gal Code Red. I think the bleeding here is cool unless of course you are painting a snow man or something that really has to be really white.
I'm not showing a can it be fixed photo, because it can, if you want to go over it again and top coat once more.
Tuesday I'll show you a mani on Optimist that was ruined because I didn't know it was a bleeder...