This a lengthy, but hopefully useful post on ridges and ridge fillers that has been brewing in my head for over two years... You might not have any ridges yet, but they are part of getting older :)
My ridges (vertical) on my 61 year old nails are pretty severe even for my age – and as far as I remember they slowly started appearing around the age of 40, maybe even before.
With ridges like mine you can forget all about buffing, it will cause painful vertical breaks from the tip and upwards into the nail bed where the ridges have been buffed thinner. Actually I suspect that the nail plate is thinner where the ridges are.
I have been told that just like your skin get wrinkly as you get older, so does the skin under the nail plates, true or not – it sounds like a plausible explanation.
Stress (mental stress, short term illness, pregnancy, malnutrition etc.) can cause temporary horizontal ridges, and if you experience permanent horizontal ridges a medical check-up might be a good idea.
Lack of vitamins/minerals and medications is said to cause ridges to get worse – so there seems to be more reasons, but unfortunately there isn't much information to find about ridges on the internet let alone scientific material.
Edit: Vedrana gave me this brilliant LINK on my Facebook page - thanks a lot!
OK, get ready to see my naked nails and their ridges!
The two next photos are a little over a year ago as you can see on the nail length, my right hand has the worst ridges. You can enlarge the photos by clicking on them!
This is my left hand, my swatch hand:
- and my right hand:
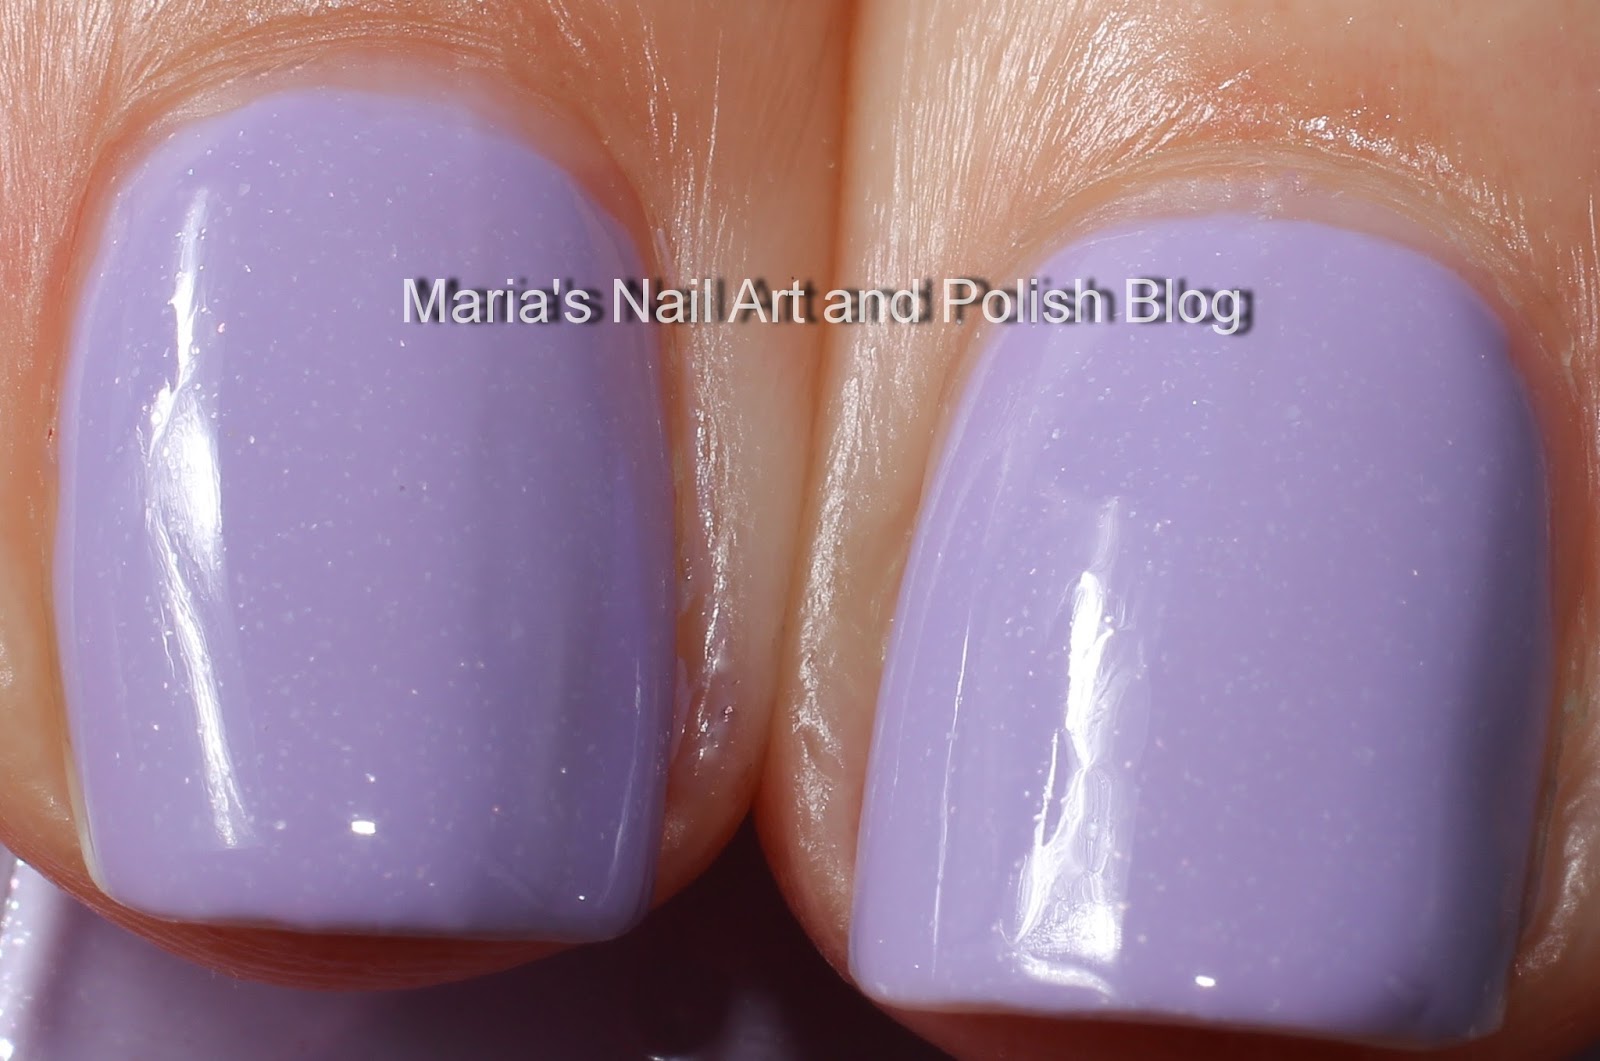
One coat - no ridge filler:
This is
a mani with one single coat of a matte polish (Deborah Milano Sence Tech 100% Mat 04) – and NO base coat what so ever looks like
One coat - over one coat of ridge filler:
This is one coat of the same matte polish - but this time over one coat of ridge filler - notice the big difference!
Two coats over one coat of ridge filler:
- and two coats of the same matte polish over one coat of ridge filler. Mattes are problematic for me to wear....:
Some finishes makes the ridges (and any imperfections on the nail plate) really stand out: Metallics, foils, first generation holographics and matte.
Bonus info: A ridge fillers works like any aqua base if you are applying a holo that will drag…
Needless to say – I always wear a ridge filler base coat – even for swatches that are removed once I’m through taking my photos - and I take the photos a few minutes after I finish before a deep drying process starts...
For normal use I realize that 2 coats of ridge filler would be even better, but frankly speaking: life is too short, and after all my ridges (and wrinkles) are part of who I am!
A top coat like my beloved Seche Vite that makes your nails look plump and smooth is of course a necessity for me to achieve as a smooth a final result as possible.
Here are the ridge fillers I used and tested during the last 3 years.
My verdict is based on how my mani looks the next day when 1 coat of the ridge filler in question + 2 coats of polish + 1 coat of Seche Vite Top Coat are completely dry!
Acceptable:
Acceptable: These are better than a normal (non ridge filler) base coat without doing a really good job.
China Glaze Ridge Filler Base Coat: When completely dry the ridges still are rather visible. My nails were somewhat yellow during the months I used it.
Essie Fill The Gap: When completely dry the ridges still are rather visible.
Fairly good:
Fairly good: These do a decent job without being outstanding.
NailTek I (normal nails) and III (dry/brittle nails): I have used several bottles of this, it’s a little better than the China Glaze and the Essie, my ridges are less visible. NailTek have kept my nails in good shape, but today I mainly use it for swatches.
Golden Rose No More Ridges & Yellow is very plump upon application, but sadly it gradually loses its plumpness as it dries completely, and the end result is very similar to NailTek. It will however be great for swatches!
Barielle Hydrating Ridge Filler maybe leaves me with a bit plumper result, than Nail Tek and Golden Rose does, but it’s a close match.
Really good:
Really good:The best I have tried so far, they are significantly better than the above mentioned without solving the problem completely.
Salon Sciences Instant Artificials is lovely to work with and the result is really good even the day after, but my ridges are still slightly visible. The finish is smooth but it could work better with problematic/dragging holos. The only really minus from my point of view is that it’s not sold online anywhere, and it’s also not available in stores in Denmark, but if you are in the US it is a good choice.
Nail Pattern Boldness Digital Hydration is lovely to work with and the result is really good even the day after, but my ridges are still slightly visible. It’s finish is slightly sticky and it also works well as a base for problematic/dragging holos. It’s my favorite over Instant Artificials because it’s available online, I buy it when I shop anyhow from Edgy Polish.
Perfect:
I have not yet found a ridge filler that solves the problem entirely in one or two coats, and I really, really doubt that I ever will.
I could of course choose to have gel nails, but I don't feel confident about the chemicals and harsh treatment of the nails, so I accept my ridges, just like I accept all other signs of my age ;)
By the way: I might be the oldest nail polish blogger, but if you know other 60+ nail polish bloggers, please send me a link, I would love to know them!!!
A useful tip: When I have used approximately half of my ridge filler I shake up a new bottle and from that I fill up the half full bottle – this way over time the formula becomes a bit fuller, should of course not be allowed to get goopy.
Ideas for me to try? Do you know a ridge filler that I need to try, a heavy duty ridge filler that would work even on severe ridges like mine?
I hope to find a Trind Ridge Filler one day to see how it compares - others I need to try?
Thank you to:
Katarina from Edgy Polish for sending me my first bottle of Nail Pattern Boldness Digital Hydration for review back in January!
KarenD for sending me Salon Sciences Instant Artificials!
Vedrana for sending me Golden Rose No More Ridges & Yellow!


